
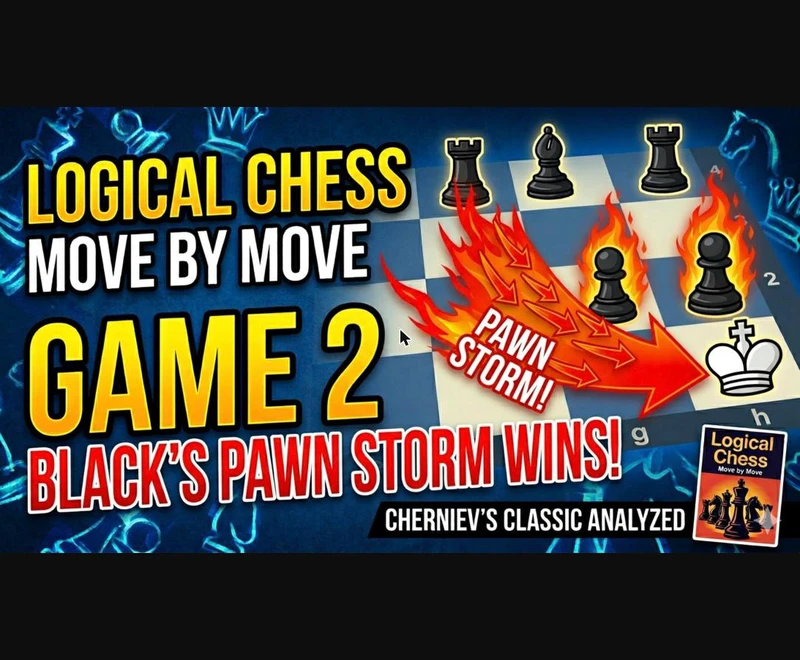
Logical Chess Game 2: Liubarski vs Soultanbeieff 1928
Logical Chess Move by Move Series | FM Nicholas Van Der Nat | Chess Excellencehttps://www.youtube.com/watch?v=pdyulSkEUXE
Hey Lichess community,
This is Game 2 of our 33-part series working through Irving Chernev's classic book Logical Chess: Move by Move. Each post comes with a full video lesson on the Chess Excellence YouTube channel. If you haven't subscribed yet, now is the time -- head over and join us!
https://www.youtube.com/@ChessExcellence
Watch the full Game 2 video lesson -- subscribe so you never miss a game!
https://lichess.org/study/G92ux9H9/zQhGGNBa#0
White plays the Giuoco Piano (Italian Game) and quickly gets a solid position. But on move 9, they commit a seemingly innocent error -- pushing the h-pawn to h3 to stop Black from pinning the knight. As Chernev explains, this move weakens the pawn cover in front of the castled king, and Black punishes it with a textbook kingside pawn storm.
The lesson here is one you will see again and again in this series: do not push pawns in front of your king without very good reason. Once those pawns move, they cannot go back.
One of the frameworks I use throughout this series is the Piece Activity Count -- a simple tool for understanding who is winning. Count how many pieces are actively participating in the game. Are they on good squares, controlling important areas, or helping with an attack? Or are they idle, blocked, or undeveloped?
In this game, Black's count climbs rapidly after the pawn storm begins. The bishop on c5 controls the kingside diagonal, the queen enters via e7 to h4, the rook swings to g8, and the dark-squared bishop joins the attack via f5 and then h3. White's queenside pieces never join the game -- a classic example of a lopsided count.
The second framework is the Rule of Three: to launch a successful attack on the king, you need at least three pieces participating. One piece alone cannot checkmate. Two pieces can threaten, but the defence can often hold. Three active pieces working together? That's when the king runs out of answers.
Watch how Soultanbeieff builds to this. The pawn storm opens lines. The queen swings to h4. The rook lands on g8. The bishop comes to h3 or f3 to eliminate the last defenders. One piece takes away the guardian, and the remaining two deliver the mating net. This is the Rule of Three in action -- and it is a pattern you will see in game after game in this series.
White's 9.h3 is a move you will see in thousands of amateur games. The intention? To prevent Black from pinning the knight on f3 with 9...Bg4. And that's a real threat -- the pin is annoying. So h3 feels logical, even safe.
But here is the problem. By pushing the h-pawn, White has created a target and weakened the structure around the castled king. As Chernev quotes from Reuben Fine: "The most essential consideration is that the king must not be subject to attack. He is safest when the three pawns are on their original squares." The h-pawn on h3 now becomes the base for Black's pawn storm with ...h6 and ...g5-g4.
This is a pattern worth memorising: when you push a pawn in front of your king, that pawn becomes an invitation for your opponent to advance against it. h3 begets ...h6, then ...g5, then ...g4, and suddenly White's king is exposed.
https://lichess.org/study/G92ux9H9/zQhGGNBa#24
After 12.hxg4 Black plays 12...Rg8 -- a quiet move that suddenly attacks the g-pawn with three pieces while White can only defend it twice. White cannot support with 13.f3 as it exposes the king to check. So Liubarski grabs the h6 pawn with 13.Bxh6, but this hands Black the tempo needed to launch the decisive combination:
13...Nxg4 (gaining time by attacking the bishop) 14.Be3 Nxh2! (the knight sacrifice removes the key defender on h2) 15.Kxh2 Qh4+ 16.Kg1 Qh3 -- threatening mate. White has no answer. After 17.g3 Rh8 18.f3 Bxe3+ 19.Qxe3 Qh2# it's over. Black's three attacking pieces -- queen, rook, and bishop -- coordinated flawlessly.
Strange that White, who feared the pin so much, should perish by the pin! -- Irving Chernev
Want to see the full move-by-move breakdown with verbal explanation? Watch the complete video lesson on YouTube!
https://www.youtube.com/@ChessExcellence
Modern engines confirm that Black's attacking play was near-perfect. Stockfish gives White no good options after 9.h3 -- the pawn push is assessed as the beginning of a strategically lost game. The engine suggestion is 9.Nbd2 or 9.Qe2, keeping the kingside intact.
Challenge for the community: Set up the position after 9.h3 in your engine and find the first 5 best moves for White that avoid the disaster. What would you have played instead? Drop your answer in the comments!
- Do not push pawns in front of your castled king without a very good reason. Pawns cannot go backward -- once pushed, the weakness is permanent.
- When your opponent has a pawn weakness in front of their king, target it with a pawn storm. Advance your pawns to open lines and bring your rooks into the attack.
- The Rule of Three: successful king attacks require at least three pieces working together. Queen, rook, and bishop in this game is the model to study.
- If your king is in the centre when there is no open play through the middle, that is not always a weakness. Soultanbeieff kept his king in the centre deliberately because the position was closed -- and used the kingside pawns as weapons instead.
- Count your active pieces. If you have more pieces in the attack than your opponent has in the defence, the attack should succeed.
Resources
- Chess Excellence YouTube channel: https://www.youtube.com/@ChessExcellence
- Lichess study (interactive game analysis): https://lichess.org/study/G92ux9H9/zQhGGNBa
- FM Nicholas Van Der Nat on Lichess: https://lichess.org/@/amazingatlas
- FM Nicholas Van Der Nat on chess.com: https://www.chess.com/member/amazingatlas
This is part of a 33-game series covering every game in Irving Chernev's Logical Chess: Move by Move -- one of the greatest instructional chess books ever written. Each game comes with a written post here on Lichess and a full video lesson on the Chess Excellence YouTube channel, aimed at adult improvers rated 800-1600 who want to understand chess more deeply without spending hours on theory.
I'm FM Nicholas Van Der Nat, FIDE Master and FIDE Trainer. My goal is to help you grow your chess understanding one game at a time -- using real examples from the classics, explained clearly, with practical ideas you can apply in your own games.
If you enjoy these posts, the best thing you can do is subscribe to the Chess Excellence YouTube channel. Every subscriber helps the series grow, and ensures these 33 games reach the chess players who need them most.
Subscribe here: https://www.youtube.com/@ChessExcellence
See you in Game 3!
FM Nicholas Van Der Nat -- FIDE Master and FIDE Trainer | Chess Excellence
You may also like
 FM amazingatlas
Game 17: Pillsbury vs Mason, Hastings 1895: The Rook Invasion
Logical Chess Move by Move Series | FM Nicholas Van Der Nat | ChessExcellence FM amazingatlas
Game 19: Grunfeld vs Schenkein, Vienna 1915: Central Control
Logical Chess Move by Move Series | FM Nicholas Van Der Nat | ChessExcellence FM amazingatlas
Game 3: Colle vs Delvaux: The Piece Attack Blueprint
Logical Chess Move by Move Series | FM Nicholas Van Der Nat | Chess Excellence CkickyCheck
The Most Embarassing Loss Of My Life
Literally lost in 6 moves FM amazingatlas
Game 18: Noteboom vs Doesburgh, Netherlands 1931: Rook Control
Logical Chess Move by Move Series | FM Nicholas Van Der Nat | ChessExcellence FM amazingatlas